Region share
Preparation
The Screen region feature allows you to share a specific region of your screen with the other participants in the room.
- Click on the
 Share content button in the main menu.
 - Now click on the button.
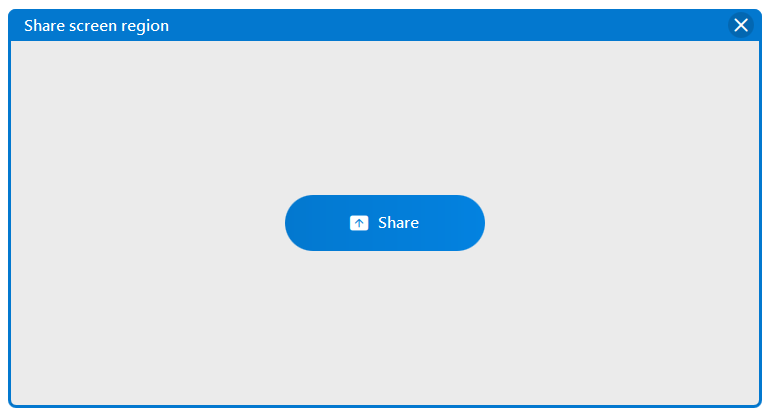
- The blue selection frame opens.
- Move the selection frame to the position on your screen that you want to share.
- Modify the frame size by dragging the sides and corners of the frame.
- If you want to cancel the process, click on the
 close icon in the top right corner of the selection frame.
Start & stop
- Start the screen share by clicking on the button in the middle of the selection frame.
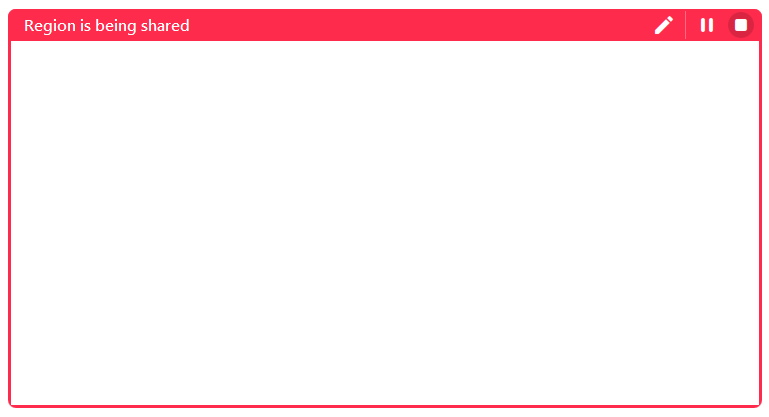
- As soon as the selection frame turns red, the screen share becomes visible to all participants.
- To end screen share, click on the
 stop icon. The selection frame remains open so that you can select a new region to share.
 - Alternatively, click on the
 Share content button in the main menu. Then, click on the button in the selection menu.
The selection frame can be resized or moved to another area without ending the screen share.
Pause & resume
- To pause the screen share, click on the
 pause icon in the selection frame.
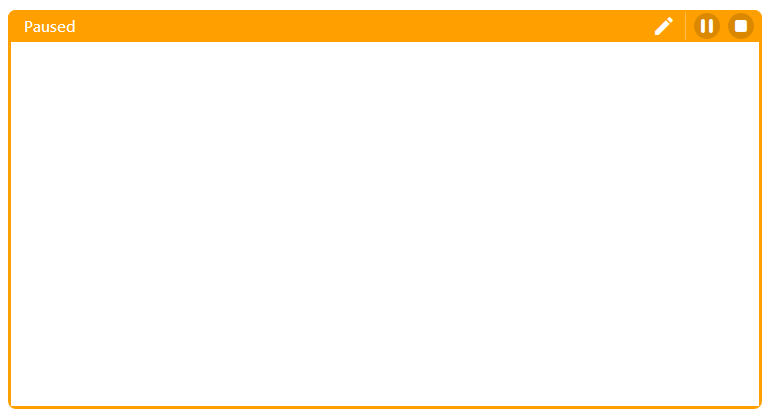
 - When the screen share is paused, the participants will see a still image and the selection frame turns yellow.
- To resume the screen share, click on the resume icon in the selection frame.
Annotate
- To use the annotation feature, click on the
 annotation icon in the selection frame.
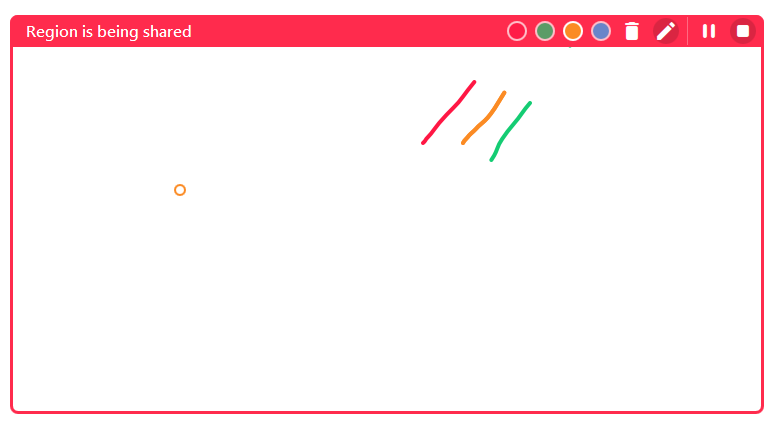
 - With the mouse button pressed, draw a line inside the selection frame. Release the mouse button to stop drawing.
- You can choose between the colours red, green, yellow and blue. The colours can be selected in the title bar of the selection frame.
- To clear the annotations and exit the feature, click on the
 annotation icon again.
 - When the annotation feature is enabled, the application under the selected frame cannot be accessed.
Important:
- The annotations become visible to all participants instantly.
- Only the user who started the screen share can annotate.
Last updated on November 18th, 2025, 11:39 am


