General settings
In addition to the settings in the secondary menu, the All Settings window provides further settings options that allow you to customise the alfaview app to your needs. In order to open the settings window, click the ![]() Settings icon in the sidebar to access the settings. Then click the button to open the separate window with all settings.
Settings icon in the sidebar to access the settings. Then click the button to open the separate window with all settings.
The settings are divided into the following sections:
Changes are automatically applied, saved and applied again upon next program start.
General
Language
This selection menu allows you to change the language of the user interface. Currently English and German are available.
Update channel
For interested users we offer the opportunity to choose from different update channels or versions of alfaview.
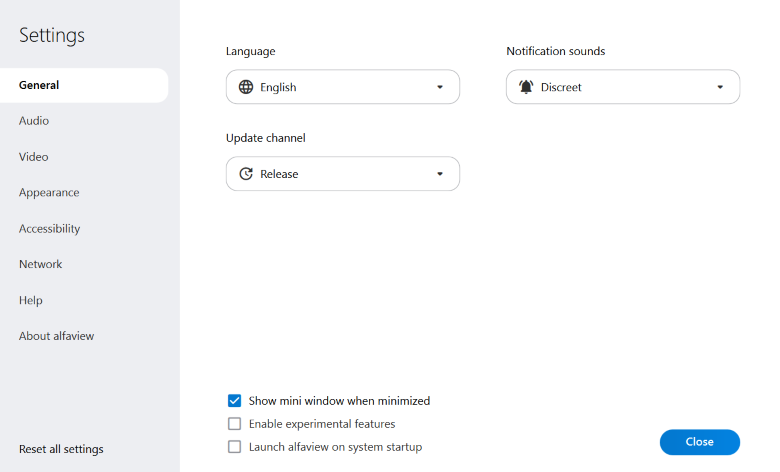
- Release: For regular updates and a stable, fully tested app version. (Default setting)
- Beta: Select the Beta channel if you want to test new features early and support us with your feedback.
- Insider: In the Insider channel, you will receive experimental updates that are still in development.
After changing the update channel, alfaview must be restarted.
Notification sounds
Customise the app’s notification sounds, which alert you to things like chat messages or people in the waiting room. Choose from the following options:
- Off: No notification sounds are used.
- Discreet: Quieter notification sounds are used.
- Normal: Normal notification sounds are used.
Show mini window when minimized
The mini window allows you to follow conversations and events in the alfaview room when you have minimized the main window of the application. It provides you with the most important functions of the primary and secondary menus.
Enable experimental features
When activated you can select the additional option pixelate to blur the surroundings in the settings.
Launch alfaview on system startup
When activated, alfaview automatically starts when you start your computer.
Audio
The Audio tab allows you to set up your microphone and speakers.
Newly connected devices are listed in the selection menu as soon as they are recognised by the operating system.
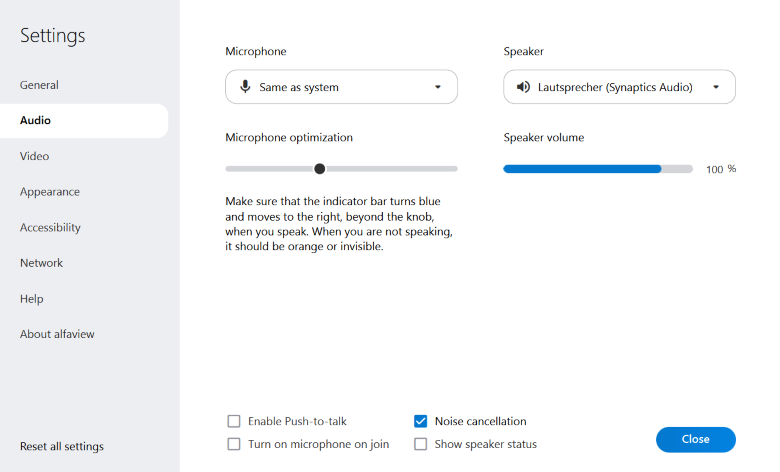
Microphone
Select the microphone you want to use from the drop-down menu.
Microphone optimization
We recommend that you use the automatic Noise cancellation function. This effectively adjusts the sensitivity of your microphone so that unwanted background noise is filtered out of your microphone transmission.
You can also optimize the microphone yourself. You can manually adjust the input level at which the microphone picks up your voice.
- Speak into your microphone.
- Now move the slider to adjust the microphone sensitivity. Make sure the indicator bar turns blue and moves beyond the slider to the right.
- When you are not speaking, the indicator bar should be orange or invisible. This means that your voice is not being transmitted.
For the best transmission quality, we recommend that you maintain a constant distance from the microphone. You can also use the Optimization wizard in the Settings tab in the secondary menu. This will automatically adjust the level for you based on a short voice sample.
Speaker
Select the speaker you want to use from the drop-down list.
Speaker volume
You can adjust the volume of alfaview using the slider below the speaker selection. Move the slider to adjust the volume.
Enable Push-To-talk
Push-to-talk can be helpful if you are in a noisy environment or if you do not have a headset available.
The Push-to-talk feature allows you to activate the microphone manually by pressing a button. With this feature, your microphone only transmits sound when you press the CTRL key.
- Activate the push-to-talk switch.
- The
 microphone icon in the main menu will now appear orange and crossed out.
 - To speak, press and hold the
CTRLkey on your keyboard. - Release the
CTRLkey as soon as you have finished speaking.
If you do not want to use the CTRL key for push to talk, you can define a custom key combination.
- Activate the Push-To-Talk function by checking the box.
- Click the button next to the Push-To-Talk option input field.
- Press the key on your keyboard that you want to use to activate the Push-To-Talk function. As soon as alfaview recognizes your key selection, it will be displayed in the input field.
- Then click the button.
Activate microphone before entering an alfaview room
If you activate this function, your microphone is automatically switched on before you enter an alfaview room. You can deactivate the microphone at any time in the quick settings before entering a room.
Noise cancellation
Noise cancellation filters out unwanted background noise from your microphone feed, improving your audio transmission. Tick the box to enable it.
Show speaker status
When you activate the speaker status, a small speaker icon appears in the bottom left corner of the status menu in the conference rooms. You can mute alfaview by clicking the icon. If the icon is displayed in orange, alfaview is muted.
The settings are saved permanently and will be used again the next time you start alfaview.
Video
Camera
Determine the desired camera in the respective selection menu.
- The selected camera will be applied instantly and trasmitted to the conference room.
- Newly connected devices are listed in the selection menu as soon as they have been detected by the operating system.
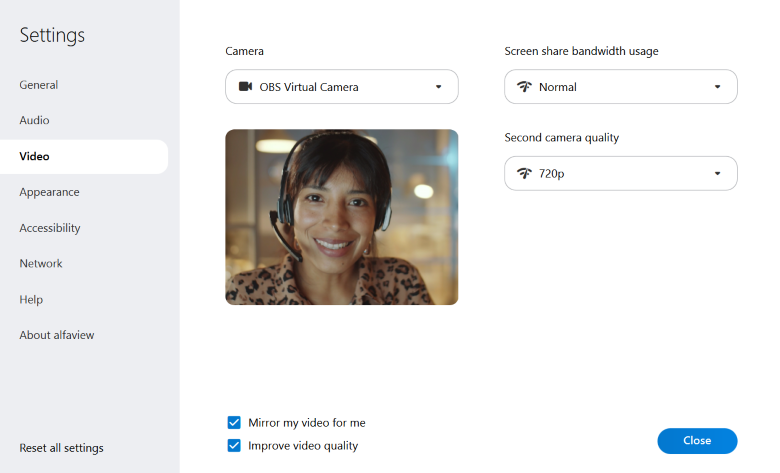
Screen share bandwidth usage
This selection menu allows to reduce the amount of bandwidth used for screen sharing. There are two options to choose from:
- Normal: Screen share is transmitted in regular quality (default setting).
- Reduced: Screen share is transmitted in reduced quality.
Second camera quality
This menu changes the video quality for the second camera.
Mirror my video locally
This setting is used to see your own video like in front of a mirror. The presentation of your video to other participants is not mirrored.
Improve video quality
Improves the appearance of all videos by adding a slight soft focus. Especially with skin tones this results in a smoother presentation.
Appearance
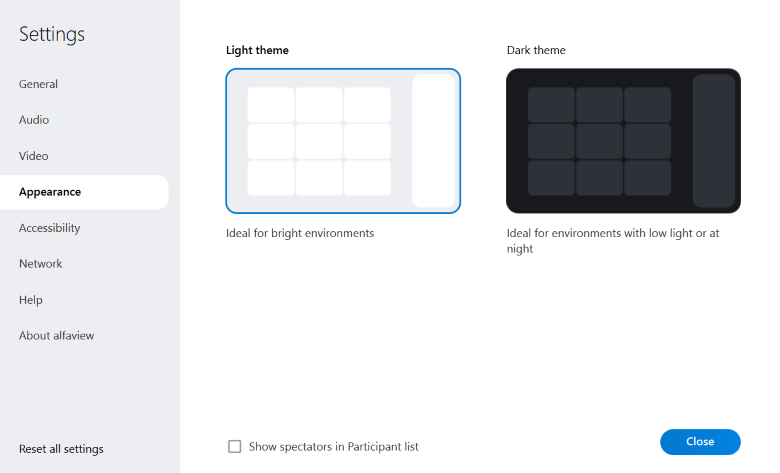
Design
Choose between a light and a dark color scheme. The dark color scheme relieves the eyes in dark environments.
Show spectators in user list
This setting is used to display participants in the user list with the Spectator permission group. Spectators can only passively participate in a meeting because of their permission, so they are hidden by default in the user list.
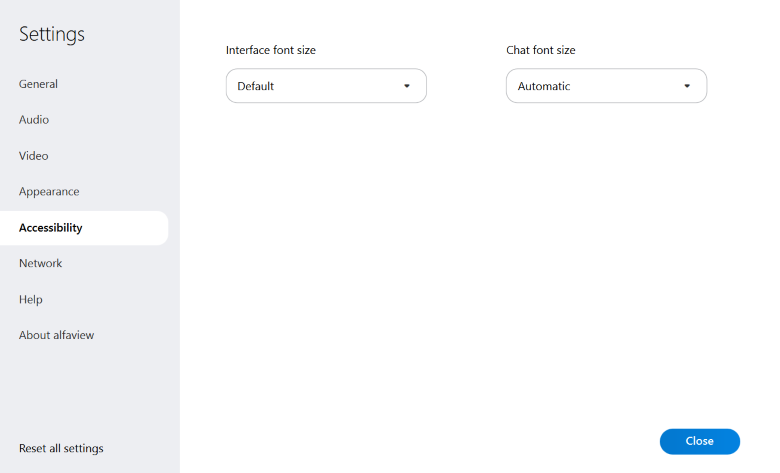
Accessibility
Interface font size
Changes the font size of the alfaview interface.
Chat font size
Changes the font size of chat messages.
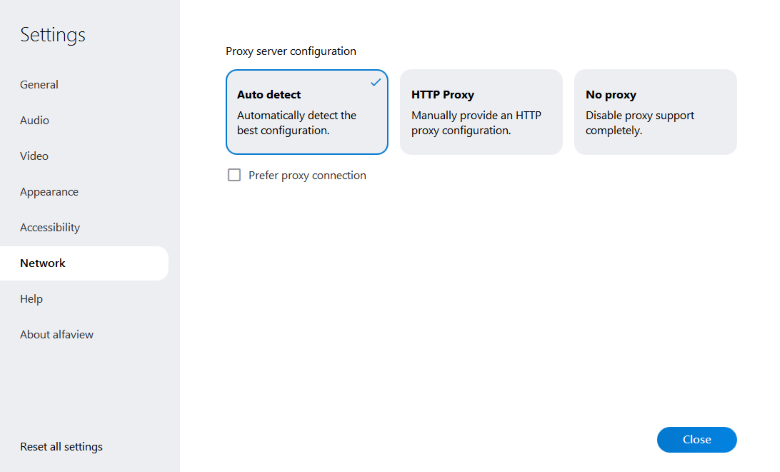
Network
If you connect to the Internet through a proxy server, you can configure it here. There are three configuration options to choose from:
- Auto detect: Automatically detects the best configuration (default setting)
- HTTP Proxy: Manually provide an HTTP proxy configuration
- No Proxy: Disable proxy support completely
Additional informationen can be found in the Proxy configuration article, as well as under system requirements & network settings.
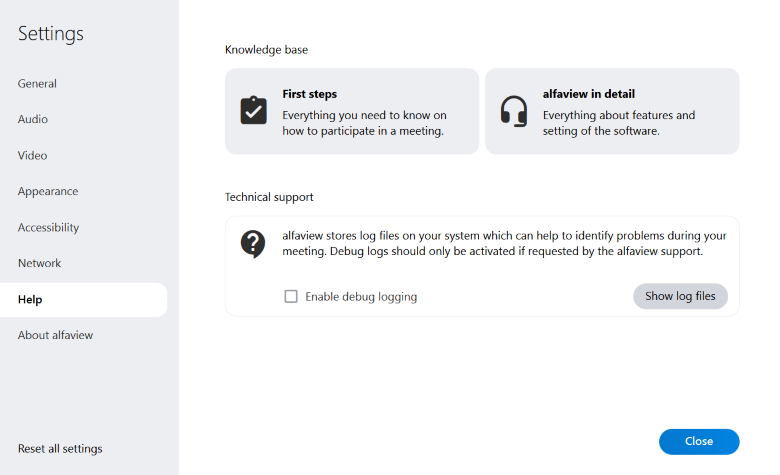
Help
Knowledge base
The knowledge base contains detailed articles on features and usage of the software.
Technical support
Enable Debug logging when requested by our staff as part of support requests. Click on Show log files to view the log files stored on your machine.
About alfaview
You can find general information about alfaview here.
Reset all settings
All settings can be reset to the default values with this feature.
Last updated on April 17th, 2026, 09:51 am